
Journal · Guide
How a professional scan actually works.
Published January 30, 2021 · Updated July 19, 2026
This is the master reference for how a professional scan actually happens, start to finish. The process every other guide on this site assumes as background.
Phase 1: Preparation and lighting
Before the camera comes out, the space gets walked through to plan a sensible capture path, one that keeps every scan node connected to the next without gaps. Lighting gets standardized as much as possible, natural and artificial both, so exposure stays consistent across the whole space rather than swinging room to room.
Phase 2: The actual capture
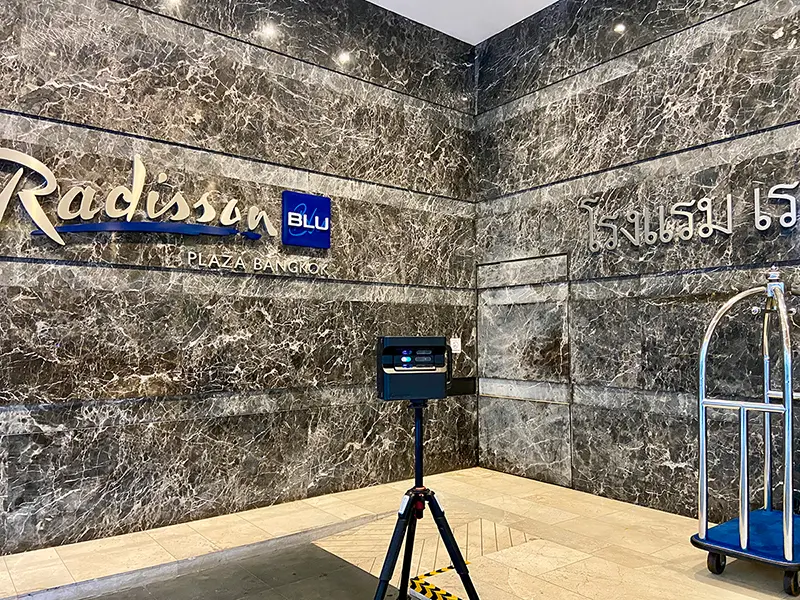
The Pro2 mounts on a stabilized tripod at each planned position, connects wirelessly to the controlling device, and executes a full 360° rotation, capturing HDR visual data and infrared depth measurements simultaneously. Staying out of frame during each rotation matters, then moving to the next node while keeping a clear line of sight back to the previous one, so the software has enough overlap to align them properly.
Phase 3: Watching the alignment as it happens
The Capture app aligns each new node against the growing model in real time, which means problems get caught on-site rather than discovered later. Mirrors and glass need manual tagging during this phase. Without it, the software can misread a reflection as real depth and generate a genuine artifact in the mesh.
Phase 4: Cloud processing
Once capture wraps, the full dataset uploads to Matterport's cloud, where the Cortex engine runs the heavier photogrammetry and stitching work across the whole space at once. How long this takes scales directly with how large and complex the space actually is.
Phase 5: Finishing and delivery
The finished model gets a defined starting point and a sensible guided path through the space, plus any Mattertags carrying extra information or links. Depending on what's needed, additional assets get exported alongside the tour itself: high-resolution stills, a floor plan, or point cloud data in formats like OBJ or XYZ for anyone doing further technical work with it.
Where to go deeper
This page is the overview. For the specifics: how Matterport's Cortex engine actually builds the model, and when panorama-only capture makes sense instead, see how Cortex builds a 3D model. For sector-specific detail: AEC and construction, heritage and museums, and hospitality. And before any of this starts: preparing a home or an office properly makes a real difference to the finished result.
Before you ask
Worth knowing.
Why does someone need to stay out of frame during the actual rotation?
The scan captures a full 360° view from that point, so anyone in frame ends up in the finished tour. Staying clear during each rotation, then moving between positions, is standard practice.
Why do mirrors and glass need manual tagging during capture?
Without it, the software can misread a reflection as real depth and generate a genuine geometric error in the finished mesh. Manual tagging during the real-time alignment phase prevents that.
What file formats can be exported alongside the finished tour?
Depending on the project, high-resolution stills, a floor plan, or raw point cloud data in formats like OBJ or XYZ for further technical use.
Start a project
Tell us about the space, and we'll tell you what it'll take.
Most replies come within a day. Most enquiries start with a short email about the space.
Email info@adostrophe.com