A Matterport "digital twin" is more than just a virtual tour; it's a data-rich, dimensionally accurate 3D model of a physical space. But how is one created? The process is a blend of meticulous on-site work and powerful cloud processing. This guide demystifies the professional scanning process, updated for 2025, and includes our original 2021 blueprint for a historical perspective.
The 2025 Perspective: What's Changed Since 2021
The core principles of 3D scanning remain, but the technology has taken a significant leap forward, making the process faster and more powerful.
- AI-Powered Automation:
Matterport's Cortex AI engine has become dramatically more sophisticated. It's now better at automatically blurring faces, identifying windows and mirrors, and even suggesting labels for rooms, which streamlines the post-processing workflow.
- From "Tour" to "Data Asset":
The market has matured. Clients now understand that a Matterport model is not just a marketing tool. The dimensionally accurate data is being used for facilities management, integration with BIM software in construction, and creating detailed floor plans, making it a versatile business asset.
The following five-step process is the foundational blueprint for a professional scan. While the technology has improved, this methodical approach to capturing a space remains the key to a high-quality result.
Anatomy of a Scan: The 5 Key Steps
Step 1: Pre-Scan Consultation and Preparation
A high-quality scan begins before the camera is even turned on. This involves a consultation to understand the client's goals and a walkthrough of the space. The objective is to plan the strategic points where scans will be made to ensure a natural, fluid "walk-through" experience for the end user. The space must be "camera-ready"—clean, organized, and staged exactly as it should appear in the final model. Curtains are opened to allow for maximum natural light, which is vital for visual quality.
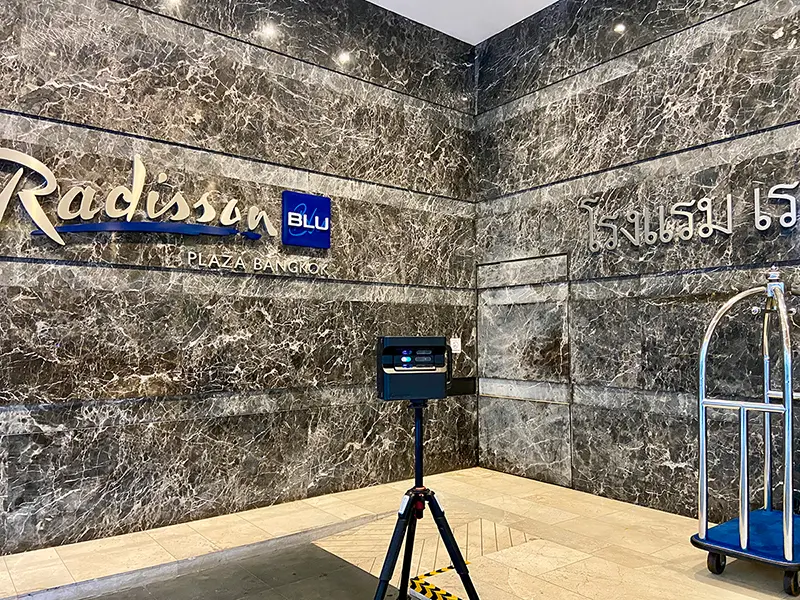
Step 2: On-Site Scanning and Data Capture
This is the core on-site work. The camera is placed on a professional tripod at each planned point. From a controlling device (typically an iPad), the scan is initiated. The camera rotates 360 degrees, using its high-resolution RGB lenses to capture the visual details and its infrared structured light sensor to record millions of 3D data points. To avoid being in the scan, the technician hides behind a wall or pillar, maintaining a Wi-Fi connection to the camera. After each scan, the tripod is moved to the next point, typically a few feet away, ensuring a clear line of sight to the previous scan for proper alignment.
Step 3: Real-Time Alignment and Data Refinement
As each scan is completed, the Matterport Capture app aligns the new data with the previous scans. The technician checks this alignment to ensure there are no errors. This is also the stage for on-site data refinement. Any reflective surfaces, like mirrors or large windows, must be marked in the app. This tells the AI not to interpret the reflection as an extension of the room, preventing "sprays" or alignment failures in the 3D model.
Step 4: Cloud Processing and Model Creation
Once the entire space has been captured, the raw scan data is uploaded to Matterport's cloud servers. This is where the heavy lifting happens. The Cortex AI engine processes the gigabytes of visual and spatial data, stitches all the scan points together, and constructs the complete, navigable 3D model. For a large space, this automated process can take several hours.
Step 5: Post-Processing, Enhancement, and Delivery
When the 3D model is ready, the final phase of work begins. This includes setting the start point of the tour, creating a guided walkthrough, and adding Mattertags. These are interactive points embedded within the model that can contain text, photos, or hyperlinks to provide more information about specific features (e.g., the specs of an appliance in a kitchen). From the finished model, we can also extract high-resolution photos, generate schematic floor plans, and create video clips for social media. The final, polished digital twin is then delivered to the client via a simple web link.
Explore Our Matterport Guides
This article is the cornerstone of our Matterport resources. For a deeper dive into specific applications and techniques, explore our related guides:
- Getting Started:
Virtual Tours Explained: A Comprehensive Guide and Maximizing Your Matterport Digital Twin.
- Industry Applications:
Guides for AEC & Construction, Arts & Culture, Hospitality, and Real Estate.
- Advanced Techniques:
Learn about Strategic Use of 360° Panoramas and check out our guides for Preparing Your Home and Preparing Your Office for a scan.