When it comes to Matterport for office spaces, the prepping list is different from those of residential real estate and other sectors. Some of the points are covered here, however, we’ll be sending out a customised checklist before each virtual tour.
Why Virtual Tours?
Let’s get this out of the way first. Matterport 3D virtual tours are used in many ways in commercial real estate. Some of which include:
- Promotion (for renting out the office spaces)
- Facilities management
- Training
- Documentation
- Insurance
- Google Street View uploads
Why Matterport?
This platform boasts the largest market share in virtual tours for real estate. It is faster than a LiDAR as-built scan, and the high-fidelity images are great for promotional needs.
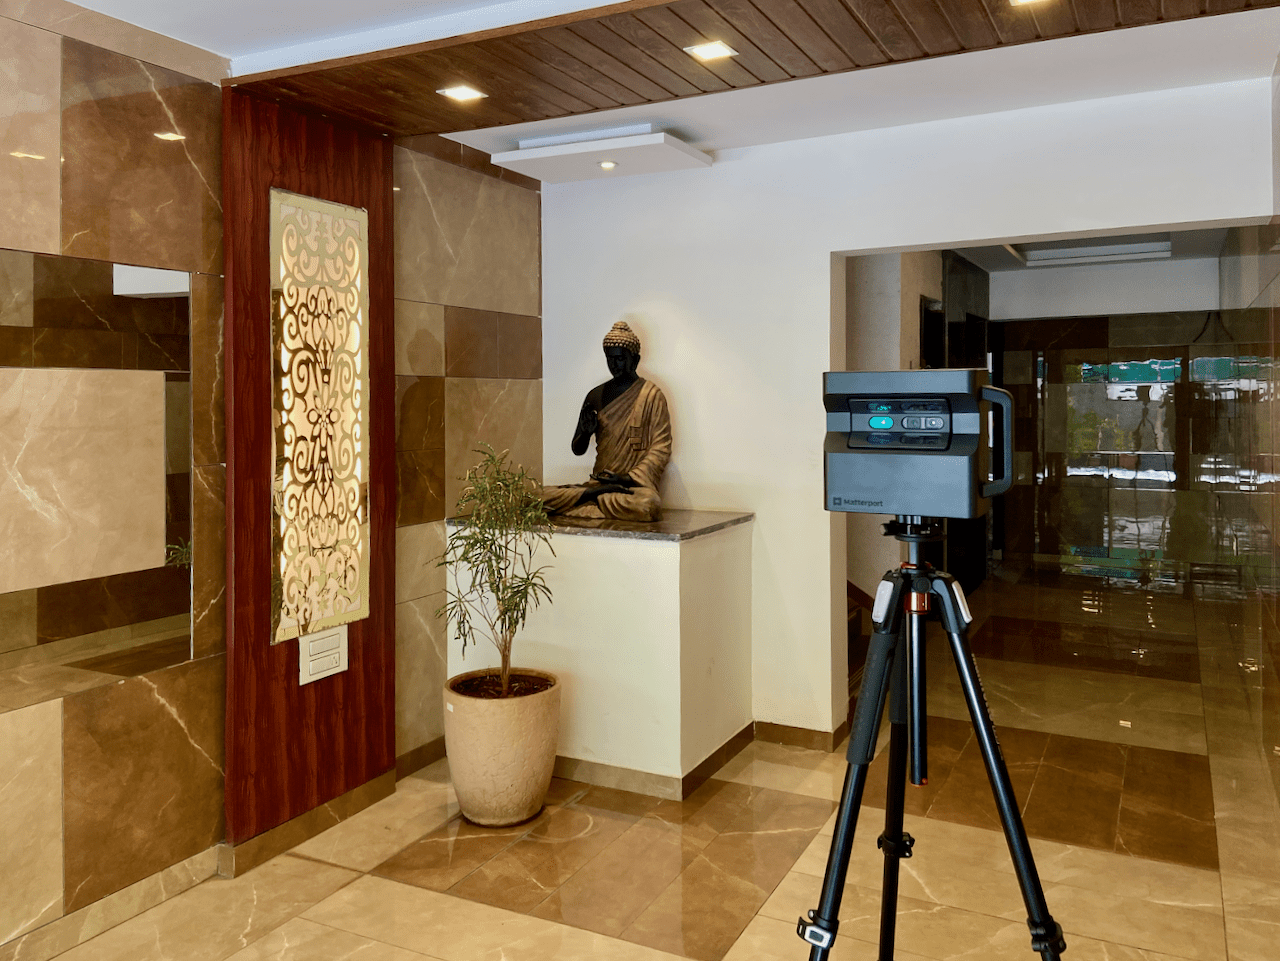
It is true that anyone can create a Matterport virtual tour with a smartphone or a 360 degree camera (like Ricoh Theta), however, professional scanners add photogrammetry data that’s important for measuring distances. An agency like Adostrophe uses only professional scanners like the Pro 2, Pro 3 and the Leica BLK360 G1.
Distance measurement comes handy to get an idea of the carpet area, or the distance between two cubicles. Clients who may be abroad will find such a functionality easy to use, compared to traditional methods of measurement and presentation.
What Happens During a Virtual Tour Scan?
When you’ve decided to go ahead with the virtual tour, you discuss with us about the finer details and then schedule a scan. During those set dates and time, our Matterport capture technicians will arrive at the site and start scanning.
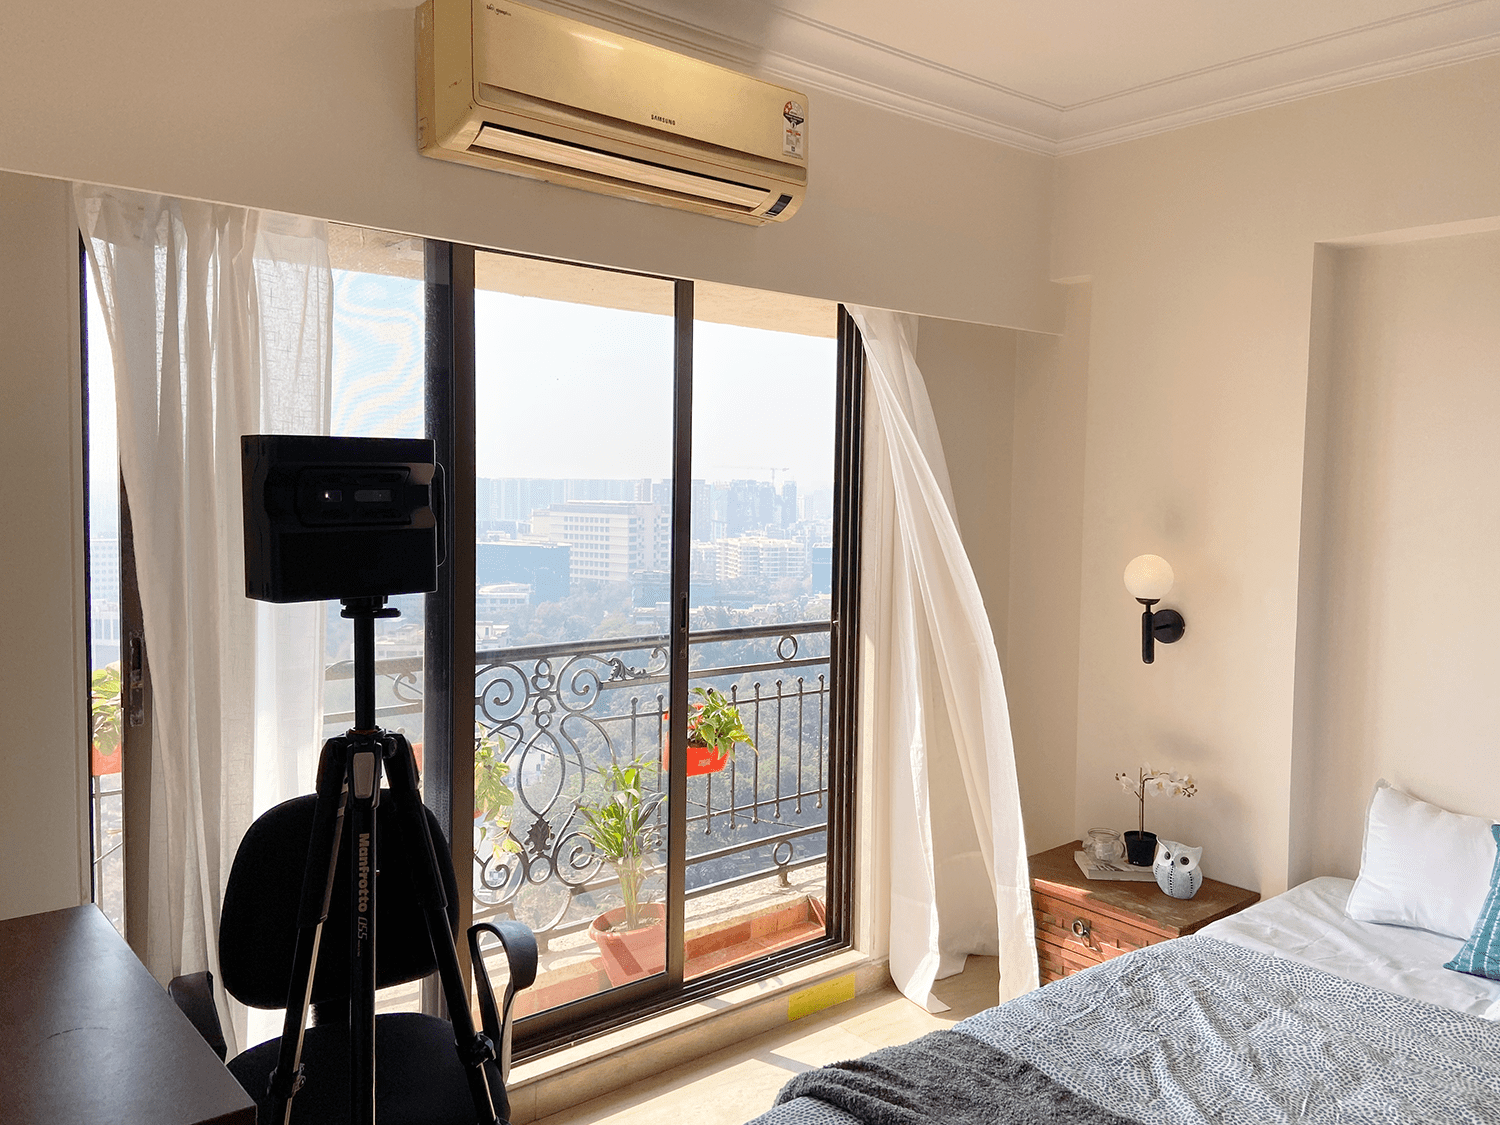
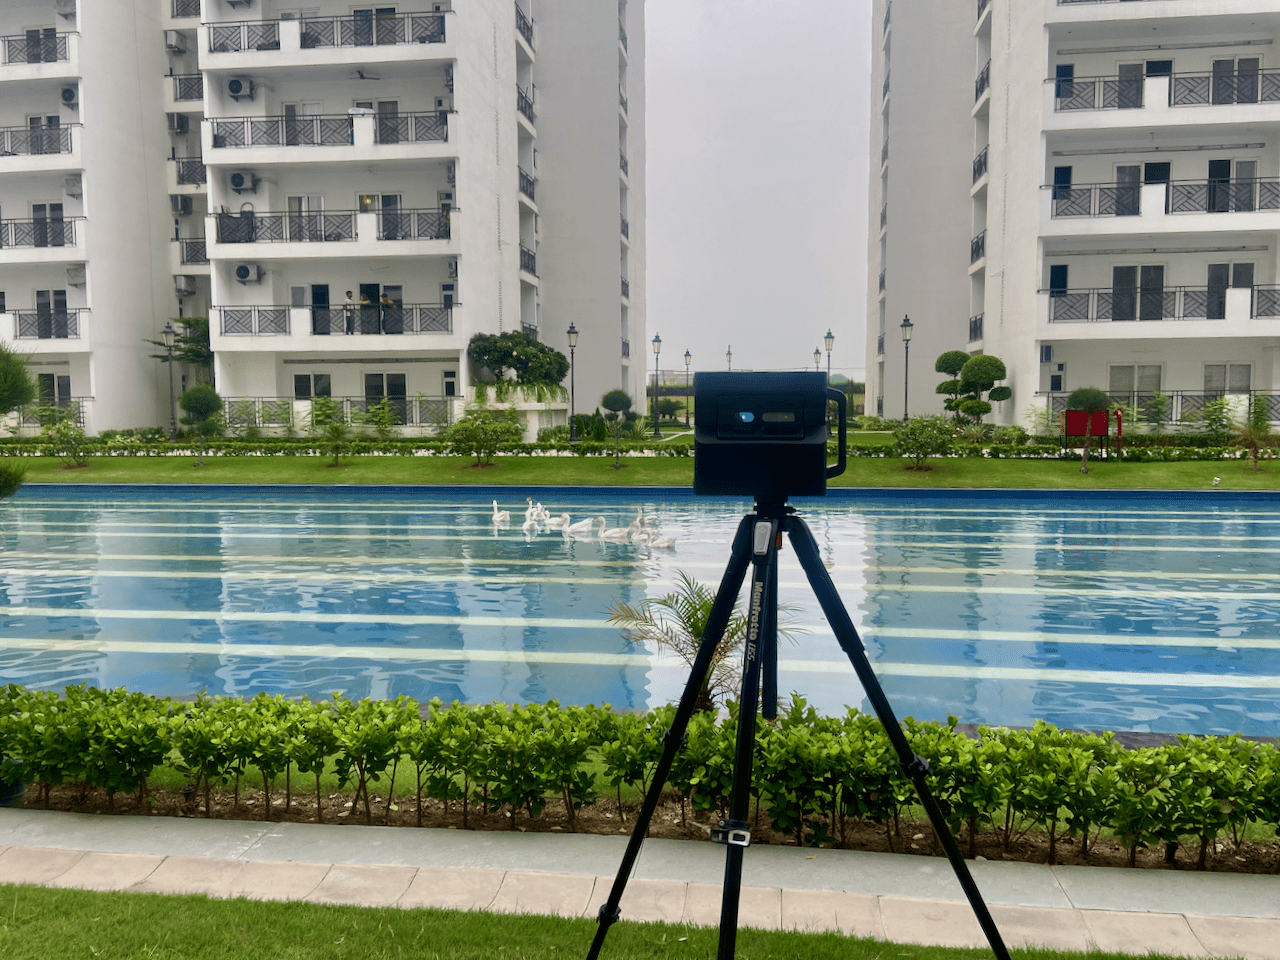
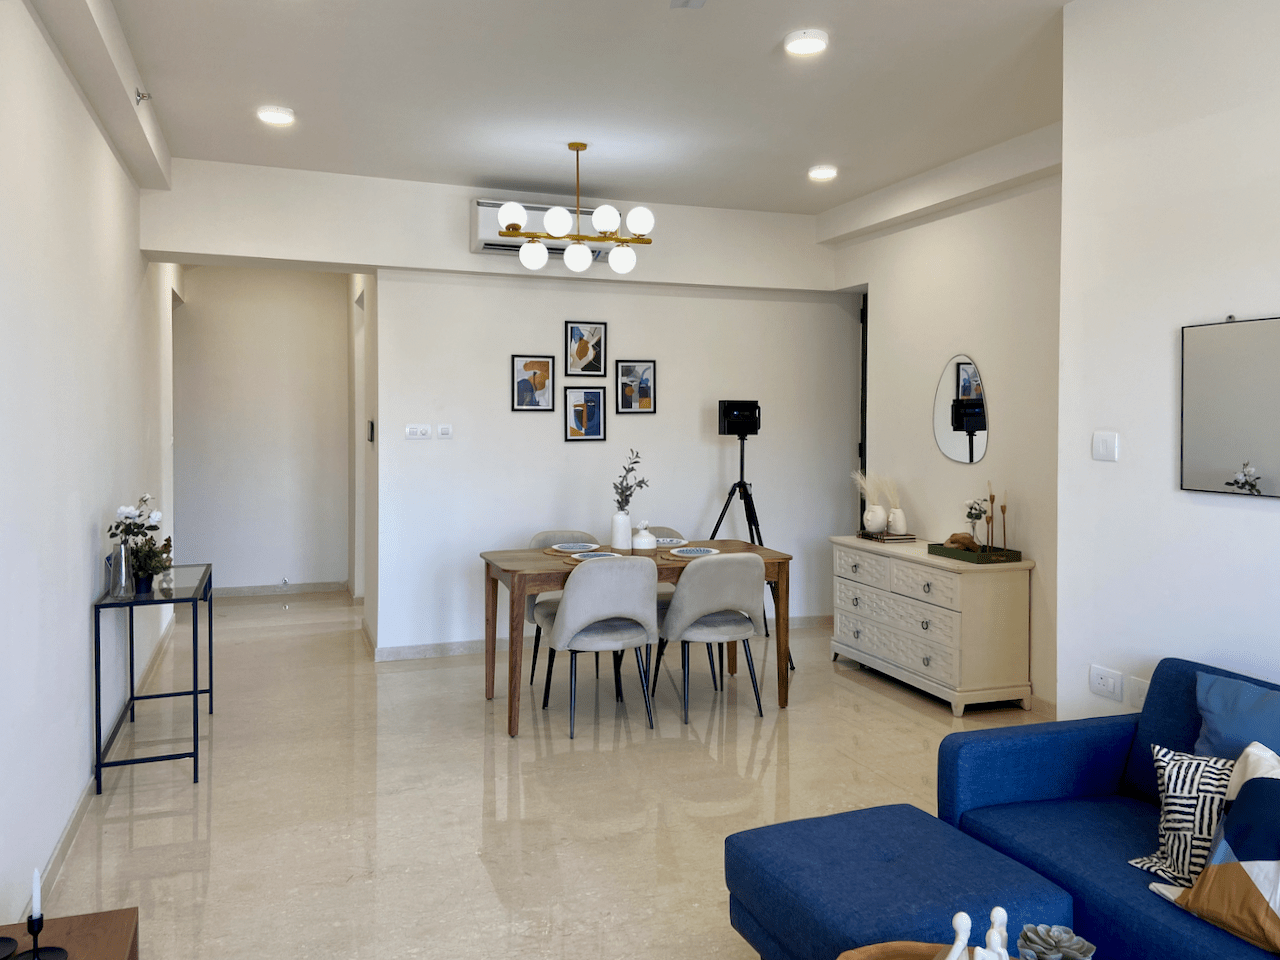
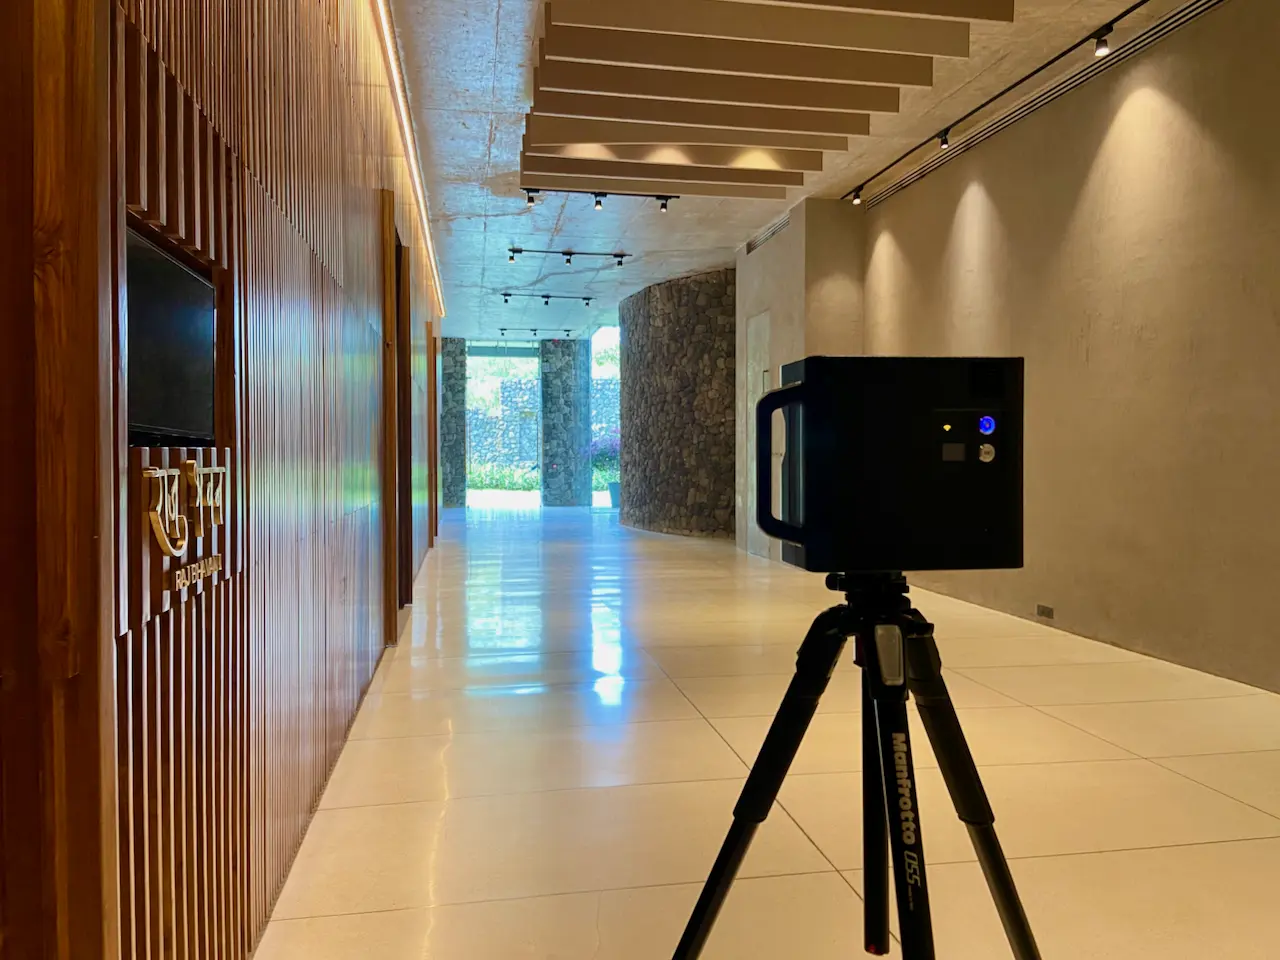
The camera is set on a tripod and the scan begins. Taking about 30 seconds for a full 360 rotation, the sensors record spatial data along with the panoramic images. Then, the camera is placed a few meters away for the second scan point. Similarly, we do this hundreds of times, depending on the size and the complexity of the property.
Conference rooms for example, may take longer if the walls are made of glass. We use best-practices to ensure the end result will be smooth for the viewer. In the backend, we’ll make adjustments as we scan different spaces in various lighting conditions.
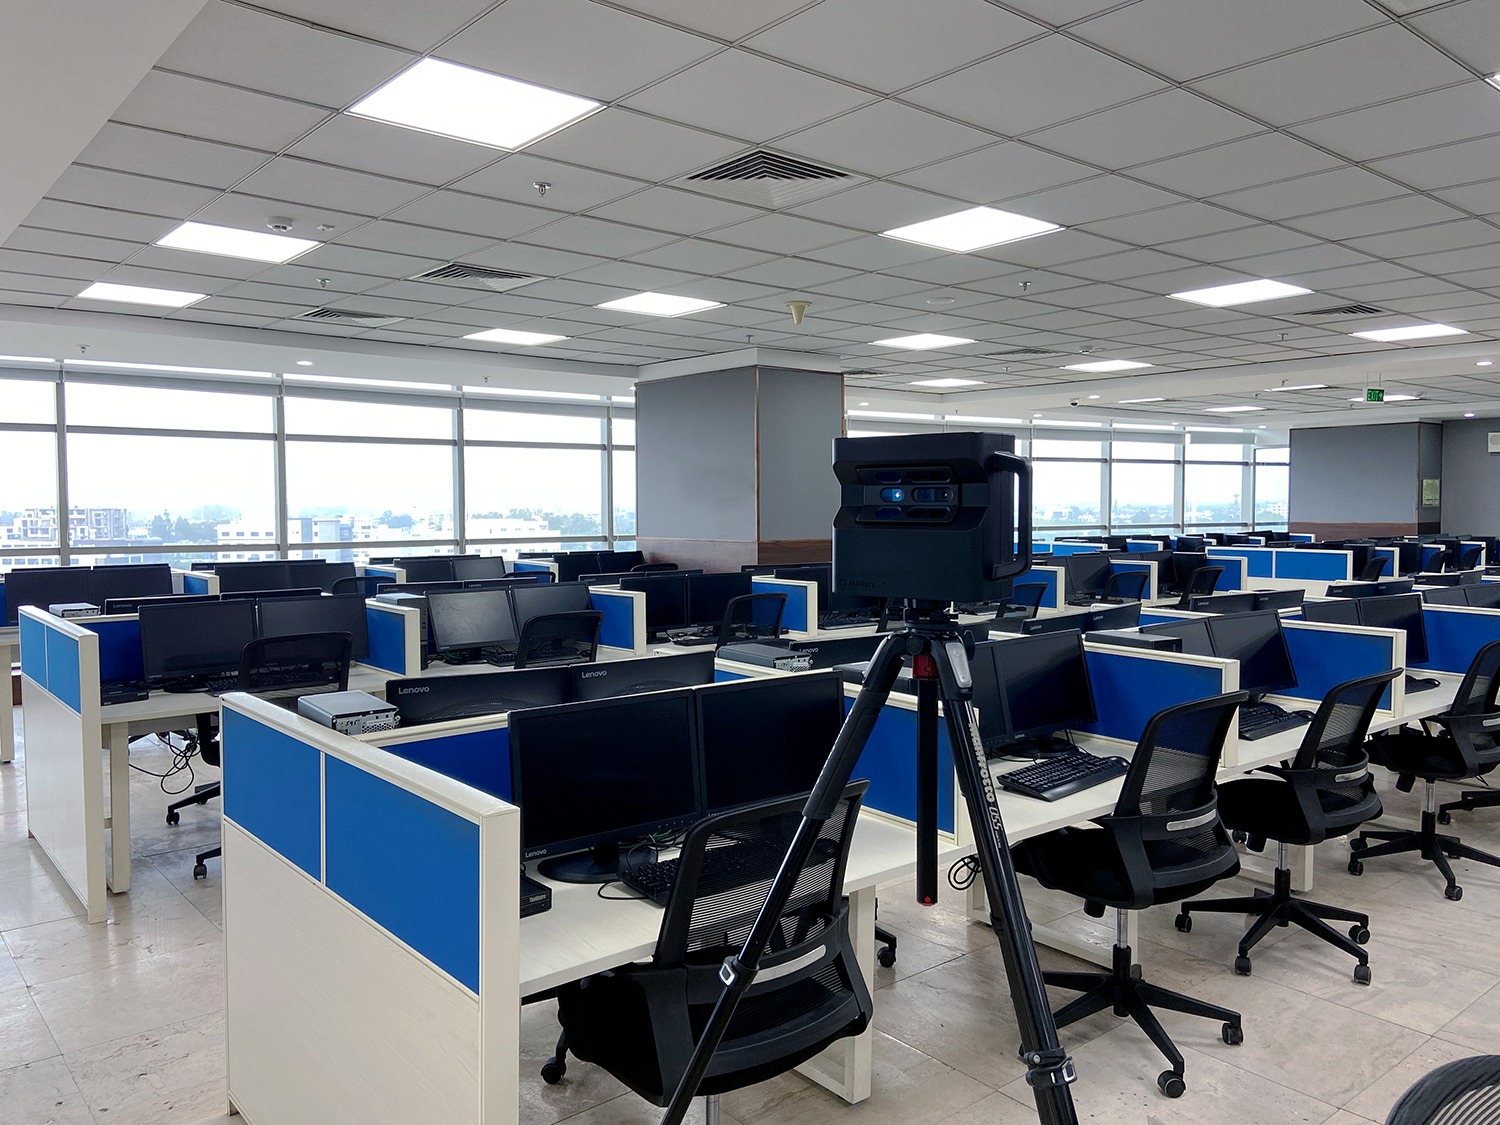
With around 30,000 sq ft covered in a day, it could take many days to scan large floors. This takes longer if there are interruptions – such as staff walking around.
What Happens after the Scan?
The data is uploaded to Matterport’s servers for processing. Small spaces take a few hours but larger models can take a day or two.
After the URL is ready, another team starts working on the edits. Unlike traditional photography or videography, editing is not removal of unwanted parts. Here, scan points are organised so that the viewer can comfortably click around. Then, there are other details such as Mattertags, labels, highlight reels and more. These features are what makes the Matterport platform unique.
Once those steps are completed, we’ll send you the final URL and embed code. We also support with placing the HTML code in your website, ensuring the tour is responsive.
So that’s about post processing, in brief.
How to Prep the Property?
We are responsible for everything that’s mentioned above. From your end, you’ll need to ensure the property is ready for our technician to begin scanning. Here’s the checklist:
- Floors: Sweep, mop and polish the floors, the way you’d like it to be presented. Note that Matterport virtual tours can be used for many years, so it helps to take the extra effort and get housekeeping to prepare it.
- Walls: Glass and reflective surfaces have to be clean and smudge free.
- Notice boards: Remove everything that can make the space appear dated. Ensure there are no confidential information on the boards. White boards in training rooms, con rooms and other places have to be erased.
- Cubicles: Empty and clean. If staff have personalised it, you can leave things as is, if the tour is not going to be shown externally. Straighten chairs.
- Computers: Screens to be turned off – no moving screensavers either. Place all keyboards and mice neatly so that they appear to be on a straight line from a bird’s eye view.
- Garbage bins: Removed or hidden from all areas, including cubicles, con rooms and washrooms.
- Washrooms: Floor to be dry, and bins to be hidden. If washrooms, utilities, server rooms, HVAC areas and ducts don’t have to be shown in the final tour, the scan points can be hidden in post. While scanning, it would be ideal to cover all areas so that the dollhouse comes out clean.
- Pantry, breakout areas: Similar to the cubicles, all chairs have to be straightened and organised. Tables to be clean and dry.
- Personal items: Ensure no personal items are seen in the floors, cafeteria or outside locker areas. No bags, helmets, lunch boxes, etc. They need to be hidden or locked away.
- Laptops and chargers: Removed or hidden. Laptop lids without any stickers are fine, as long as they are placed neatly in the desks.
- Projectors: Meeting and conference rooms can have the projector on, as long as the image is static, such as the company logo. Even so, all lights have to be switched on.
- Lights: When our technician arrives on site, all lights have to be turned on. If there are motion detecting sensors, they have to be overridden.
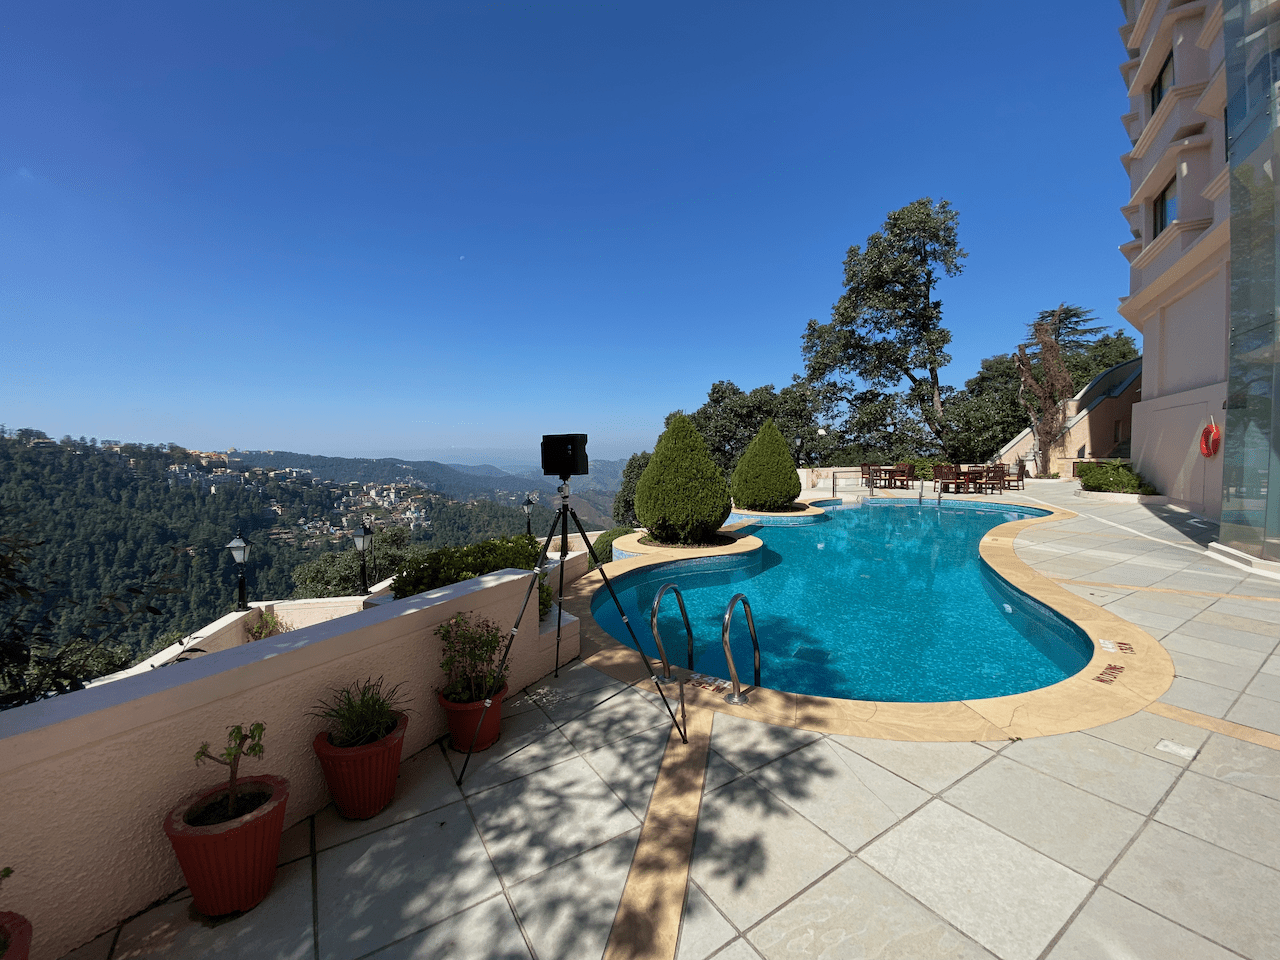
- Blinds: Drawn to allow maximum sunlight. If possible, open windows as well. Natural lighting (even if there are no greenery outside) will make real estate look pleasing.
Our technicians are instructed not to touch anything on site, so ensure the above items are looked into, as much as possible. The checklist is a recommendation and not a mandate.