In the competitive commercial real estate (CRE) landscape, a Matterport digital twin is more than a marketing tool—it's a critical business asset. It accelerates leasing cycles, facilitates remote decision-making, and serves as a detailed record for facilities management. However, the value of this asset is directly proportional to the quality of the initial scan.
Unlike a residential property, preparing a dynamic, active office space requires a unique strategic approach. This definitive guide provides a checklist for property managers and business owners to ensure their commercial space is captured perfectly.
Phase 1: Pre-Scan Coordination
Success begins before the day of the scan. Clear communication and planning are essential.
Communicate with Employees
Inform all staff of the date and time of the scan well in advance. Explain the need for a clean-desk policy and an empty office to ensure their cooperation. A simple email memo can save significant time on the day of the scan.
Coordinate with IT & Facilities
If the office uses motion-sensor lighting, arrangements must be made with the IT or facilities team to manually override the system and keep the lights on for the duration of the scan. Flickering lights can corrupt scan data.
Plan for Access
Ensure the scan technician will have access to all necessary areas, including locked offices, server rooms (if required), and common areas. Coordinate with security for after-hours access if the scan is scheduled then.
Phase 2: The Day Before – Preparation & Cleaning
This is the most intensive phase, focused on creating a pristine and professional environment.
Workstations & Desks
- Standardize: Push in all chairs, align keyboards and mice, and tidy any visible cables. Uniformity creates a clean, organized look.
- Clear Surfaces: Implement a strict "clean desk" policy. Remove all papers, personal items, sticky notes, and clutter.
- Turn Off Monitors: Ensure all computer screens are turned off to prevent screen glare and protect sensitive information.
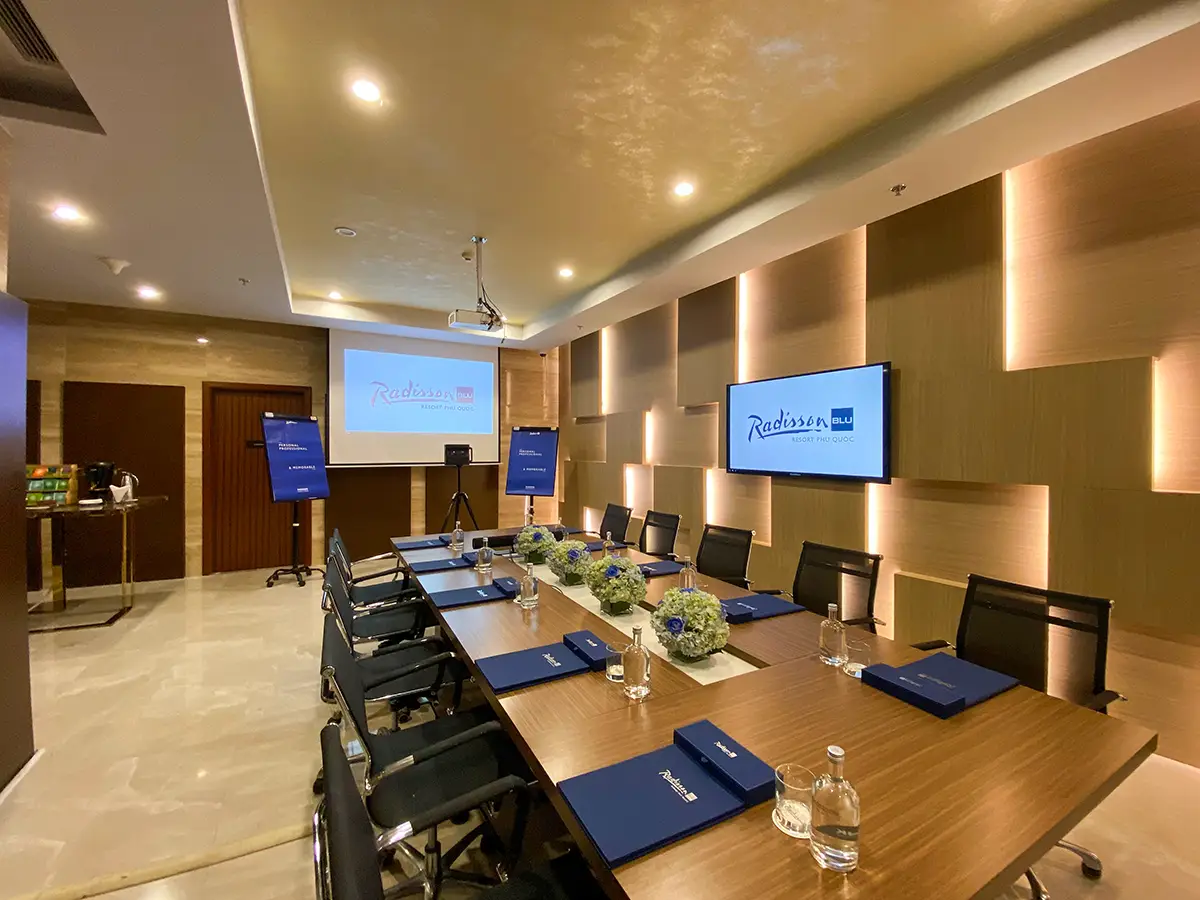
Common Areas (Lobby, Conference Rooms, Pantry)
- Conference Rooms: Neatly arrange chairs around the table. Clear the table of everything except essentials like a central conference phone. Erase all whiteboards completely.
- Lobby/Reception: This is the first impression. Ensure it is immaculate, with neatly organized magazines and a clutter-free reception desk.
- Pantry/Kitchen: Clear countertops of all dishes, personal mugs, and food items. Wipe down all surfaces and appliances.
General Environment
- Deep Clean: A thorough cleaning is non-negotiable. Focus on glass partitions, windows, and reflective surfaces, as they show every smudge. Floors should be freshly cleaned. Pro-Tip: Use a microfiber cloth for glass to ensure a streak-free finish.
- Remove Bins: Hide all trash and recycling bins from every area, including those under desks.
- Secure Information: Remove or secure any sensitive or proprietary documents, charts, or plans that should not be publicly visible.
Phase 3: The Day of the Scan – Final Touches
Right before the scan technician's arrival, a final walkthrough is crucial.
- Lighting Check: Turn on every single light. A bright space appears more energetic and welcoming. Replace any burnt-out bulbs. Pro-Tip: For the most professional look, ensure all bulbs in a single area have the same color temperature (e.g., all cool white or all warm white).
- Blinds & Curtains: Open all window blinds and curtains. Ensure they are aligned to the same level for a uniform, clean look from both inside and out.
- Turn Off Fans: All ceiling fans and any moving objects must be switched off to prevent motion blur.
- Confirm Empty Space: Do a final sweep to ensure the space is completely empty of personnel.
Conclusion: A Powerful, Permanent Asset
The role of the scan technician is to capture the prepared space with technical precision. While they will manage the scanning process and make minor adjustments, the responsibility for cleaning and staging lies with the client. By following this comprehensive checklist, property managers can ensure the creation of a powerful digital asset that serves leasing, marketing, and operational needs for years to come.